I want to expand on a point briefly mentioned in yesterday’s long release notes. As many of you know, it’s a bit of a jump from Panorama 6 to Panorama X. To help with that transition, I’ve created 75 minutes of free training videos, which you can access from the Panorama Help menu.
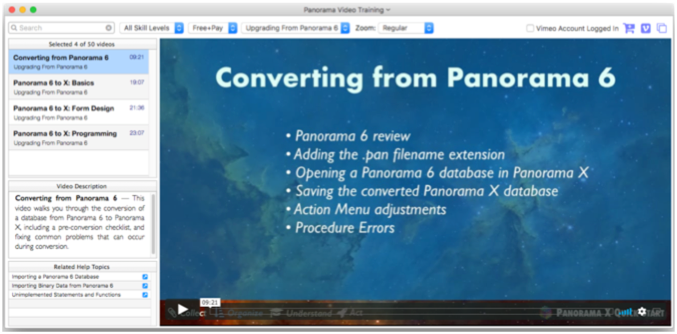
The first video explains the mechanics of taking a Panorama 6 database, opening it in Panorama X, saving it, and adjusting it for Panorama X – the nuts and bolts of bringing a database over.
The next three videos explain the differences in operation between Panorama 6 and X. In many case’s the video will show how something worked in Panorama 6, then demonstrate how to do the same thing in Panorama X.
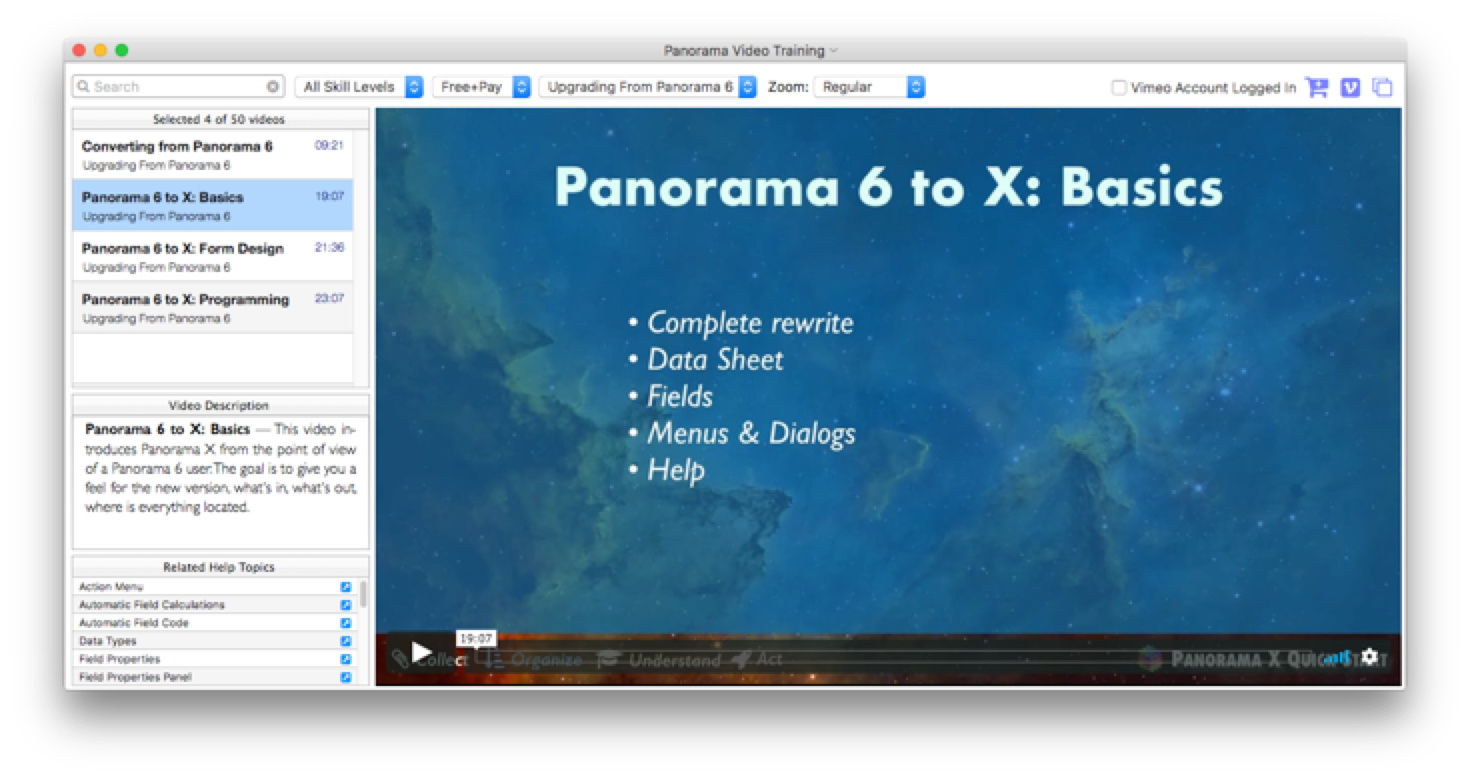
The first of these videos covers the basics – how the data sheet works, how to set up fields, changes in data types (especially numbers), multi-level undo, changes to the View menu, and a general tour of the menu bar.
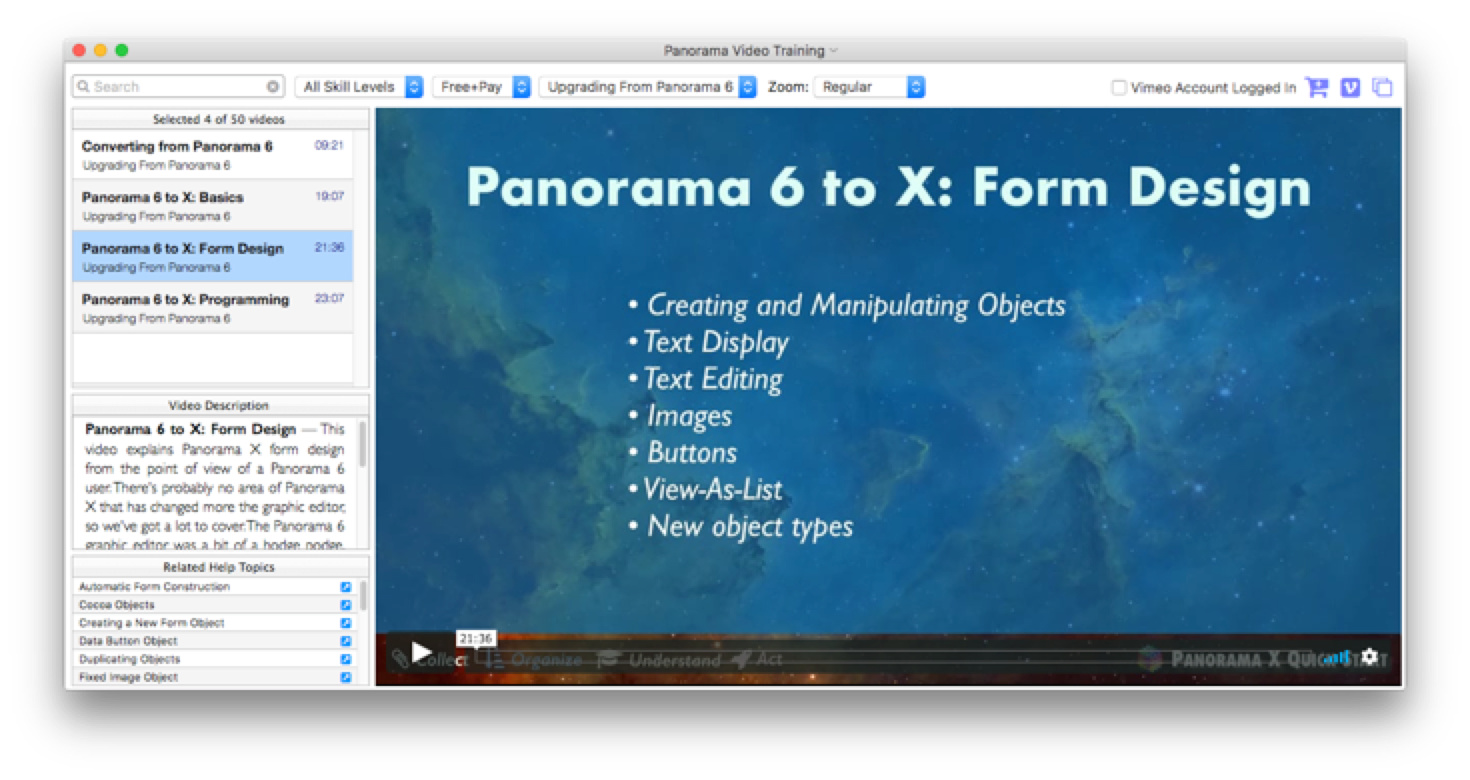
The next video discusses form design. Once you get used to it, I think you’ll find that form design in Panorama X is actually much simpler than Panorama 6, but it definitely is different. In this video in particular I do a lot of showing how the same task is performed first in Panorama 6, then in Panorama X.
The final Panorama 6 to X video covers programming. I explain how to use the procedure editor, and how to automatically create code with the procedure recorder. I show how to set up and customize the Action menu, and then how to embed code in a field or graphics object. Then I take a quick tour of the changes to the programming language.

I hope many of you find these videos helpful. I want everyone to be able to get the most they can out of Panorama X. I would also recommend that you consider watching the Panorama X Orientation video, and you may want to watch some of the other videos as well, especially if you are still getting up to speed with Panorama X.