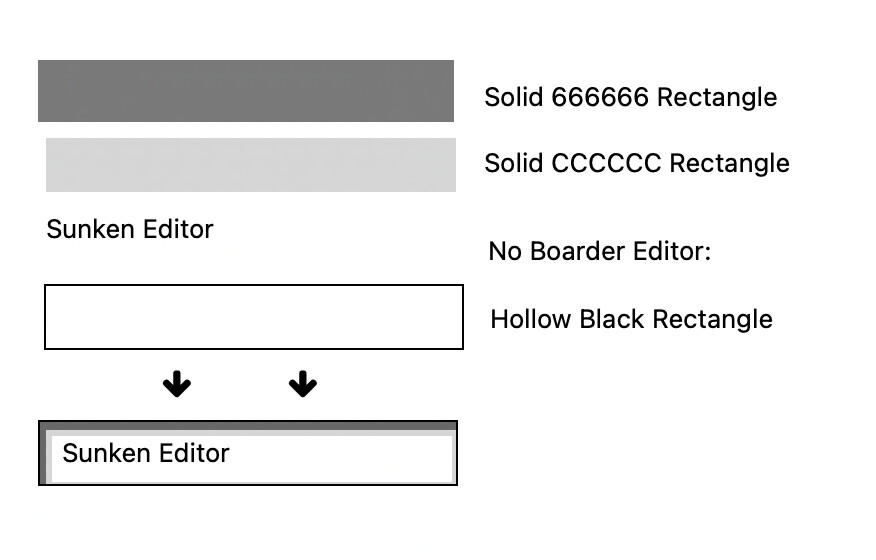
Remember the house design trend of a “sunken” living room? I think the use of alcohol and insurance policies stopped that. But there was a time (maybe lasted a week) when it was all the rage with interface design - maybe along with brushed steel background color. I’ve been trying to resurrect the effect but can’t get the layering right. I sort of remember using black, white, maybe gray, offset rectangles to give a visual effect of a sunken rectangle, with a text edit field (or data cell) at the bottom. Can someone tell me how that was done?
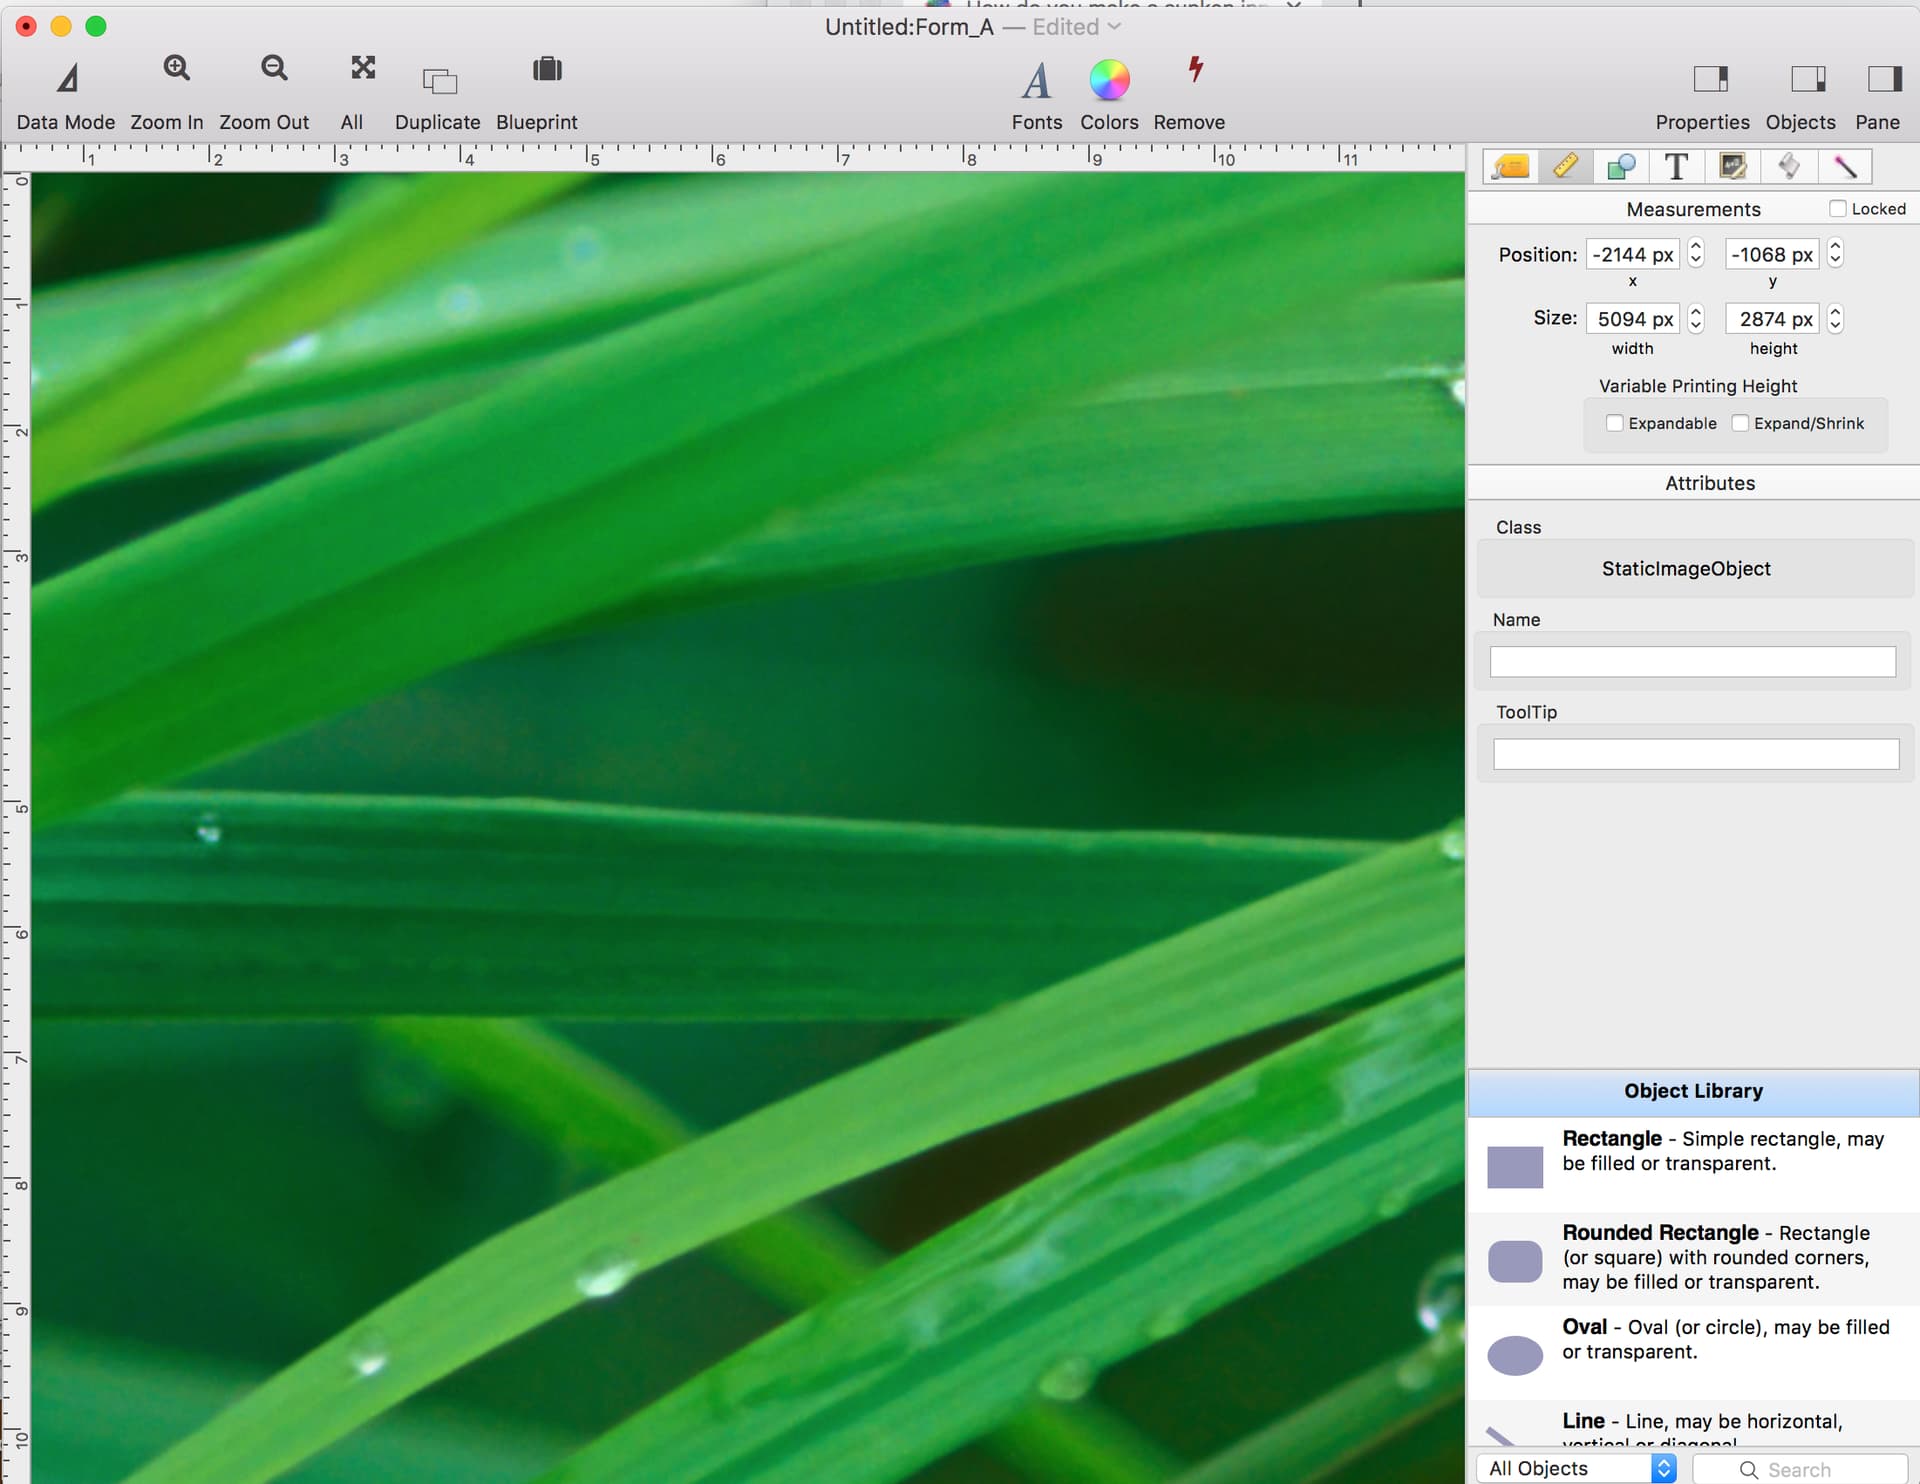
Also, I see how to use the color wheel to select a form background color but in yesteryear, you could specify a custom backdrop color/pattern for a form by pasting it as flash art. I’ll research how to set that custom fill now, but could use a hint as to where to look.
Dave, Thank you. I considered just the paste in graphics mode but hadn’t gone far enough to see if it anchored to the window - so no matter what the window size, it would fill it - rather than relying on an arbitrary “oversize” image. I’ll try your suggestion. I thought there might be a way to “point” the form to the background to use.
Gary - that’s sort of what I remember - a three-layer cake. I was trying something like that but was missing a layer. It doesn’t seem to have the same visual effect with the white background of this forum’s window, but It’s a start. I’ll mess around with it a little and if it doesn’t raise above a “Meh”, I’ll move one. Thank you both for your suggestions.
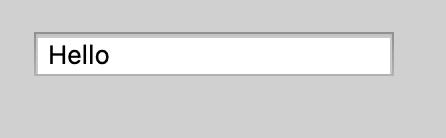
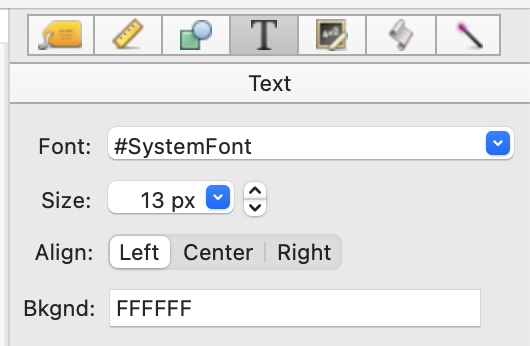
Then I created a Text Editor object with the standard bezel border. I set the Text background color to FFFFFF (white).
That’s it, I’m done.
This technique does work with an image as the background also.
If you do that, I would recommend using the Lock option on the image so that you don’t accidentally move it around when you’re working on other objects.
By the way, the Text background feature is new in 10.2. In earlier versions you had to use multiple objects as Gary described. A lot simpler now. I did describe this during the “Mastering 10.2” classes, and it is in the documentation.
Thank you Jim - that’s just the ticket. I remember about creating some “art” object out of different layers and then locking them so they act as one. I’ll read the documentation.
You can group multiple objects, which allows them to be moved and/or resized as one. But if you want to change the attributes of any of the individual objects, you have to ungroup them, change the attributes, then group them.
However, the technique I described above uses only one object, so there’s no need for a group.