Here is what I worked out to use the Console app with Panorama X. First we must prepare the Console to filter for only Panorama X entries. Use the console statement in Panorama X to make an entry into the Console that is easy to find in the Console app. Once found, right click on that entry and select “Show Library ‘PanoramaX’”. This will select entries with this criteria and a Box for ‘Library’ and one for ‘PanoramaX’ will now appear in the search box. There will also be a Save button appearing underneath it. Click that button and name your search “PanoramaX” and it will now show as a setting along with ‘All Messages’ and ‘Errors and Faults’ in the tool bar. Notice in the Console Action menu that PanoramaX is now listed at the bottom with an activation key code of command-3. We will need to know the exact key combination for a little later.
Now that we have the ground work established let’s see if we can automate using this setup with a Panorama procedure via AppleScript. Close the console so we can start fresh. This Panorama code assumes the PanoramaX key code in the Console menu is command-3 (you will have to adjust the key code in the AppleScript if it is something else). Run this code:
applescript
{tell application "Finder"
	activate
	open application file "Console.app" of folder "Utilities" of folder "Applications" of startup disk
end tell
tell application "System Events"
	key code 20 using command down
end tell}
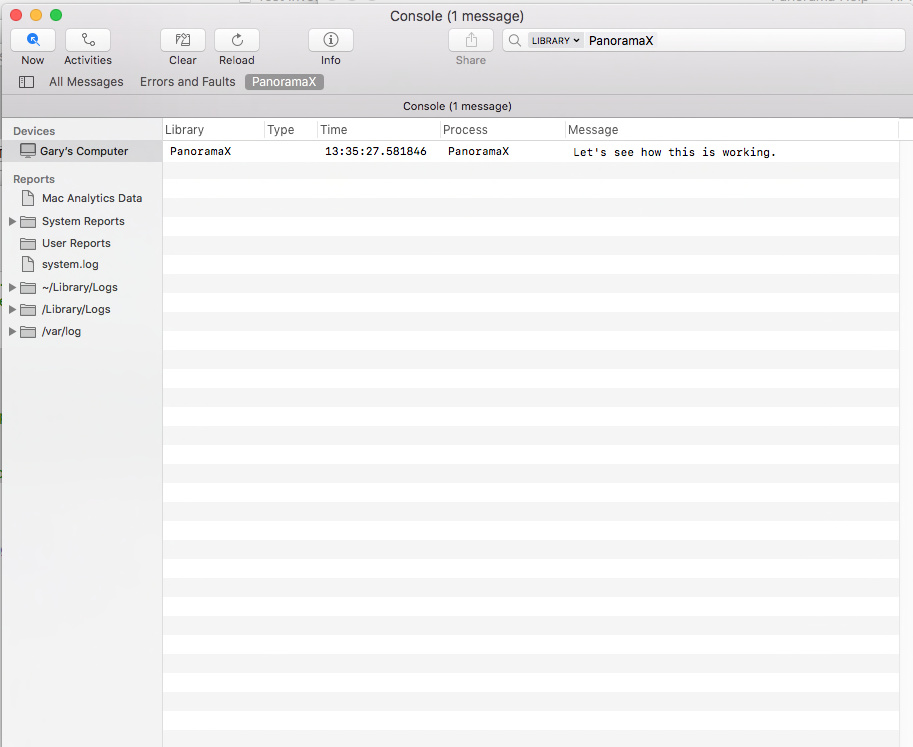
The Console app will open and the PanoramaX message filter will be active waiting for your Panorama X console commands to be displayed. Note that I am doing this on my old iMac stuck with macOS 10.13.6 High Sierra. Here is a screen shot of my Console setup:
One final note: If you want to show all PanoramaX console entries choose “Show Process ‘PanoramaX’” when you right click the original entry to start with instead of the Library entry.