I have a form with a single data tile that is sized to exactly 8.5" x 11" to accommodate full page PDF Scans. I need to print these scans at full size - not reduced by any printer defined printable area.
When positioning the object on the data tile, my hope was that PanX would send the entire 8.5x11 sized page to the printer and let the printer crop the page contents to accommodate for the printer’s built in non-printable margins. The margins of the full sheet scans are white anyway and that would eliminate any resizing to fit or image shifting.
Unfortunately, it seems that the data tile contents are simply pushed down and to the right. The data tile contents are no longer centered and anything on the right or bottom edges is cropped.
I have the left and top margins set at zero in the form, yet it seems the printable data is not cropped on the left and top margins - the tile items are pushed right and down to fit the printable area as set in Page Setup. I can’t seem to get a data tile to hold the data to the left edge of the selected page size - it always bumps it to the printer defined printable area.
Am I missing something or is this the desired behavior/or a bug?
I have been getting ready to print a whole slew of checks, which requires that they be printed in exact places on the page. With my printer, this requires some special set-up, most scale to importantly, that the printer is set to print scaled at 100%, which is not what I get if I choose Scale to Fit, either Print Entire Image or Fill Entire Page, nor is it the default for Scale. This is part of the Print dialog, so it is not Panorama’s fault; it is associated with the printer driver. I do not know if this is what is happening to you, but if you are doing precise printing, you have to check these things very carefully.
It is also important to choose Page Setup for your particular printer, not the generic All Printers.
I am printing to a PDF first, and then printing from Preview, so your setup may be different.
Yes - all of those could impact printed object positioning, thanks…
In the thousands of forms I have created in P6, when left margin and top margin tiles are present in a form and their widths are set to zero (or any distance smaller than the printer’s non-printing area), the data tile sends it’s data to any printer with it’s left and top edges aligned with the actual edge of the paper. The printer prints it as such, utilizing it’s maximum print area available. There is cropping for the non-printable space, yes, which is what most printers do. (many commercial printers can go edge to edge, as can many ink-jet printers)
In PX, regardless of the presence of left/top margin tiles being set to zero width (or any width smaller than the non-printable areas of the current printer), the data tile items are pushed down and to the left based on the printer’s printable area. Also - I’m guessing on how the amount of “offset” is determined as I haven’t yet tested it on multiple printers - it could also just be an arbitrary amount that was programmed into the tile…?
This is quite different behavior from P6… so…
How do we then design forms for end users that will print with exact and consistent page based item positioning using multiple printers that have varying non-printable border widths, while utilizing each printer’s unique maximum printable area?
Also - using “fit to page” or percentage reductions/enlargements isn’t an option for me as it assumes too much “setup” knowledge by the client and would need adjustment for every different printer that might be used to print the desired form. The end user simply won’t figure that out… and many of my applications require exact page positioning relative to the paper’s edge, not the printer’s maximum printable area. i.e. forms later read by scanners, testing bubble sheet forms with QR or bar codes, printing to PDF for later automatic imposition into page layout documents where positioning is based on the PDF’s dimensions on import, or labels that are later machine die-cut based on page edge registration, etc.
At this point I’m stumped and unable to move forward with PX in these situations…
Have you already tried to use the printtopdf statement and its numerous options? It seems to be the best print command that Pan X offers, and is — despite its name — not only able to create PDF files but to print, too.
I tested printtopdf myself and I am sorry: It seems to have the same problem: I did not use any tiles, but a Image Display object of exact the size of a DIN A 4 page. It displayed a PDF file of exactly the same size. I had set the Image Display object to display the image from the top left unscaled.
When using printtopdf, the same happens what you described before: The Image Display object gets pushed down and to the right, obviously according to the printable area of the installed printer.
I agree, it should start on the page at the x/y coordinates 0/0, so we could get a 100% PDF at least.
On that same thought, when “saving as PDF” or selecting “Preview” from the FILE menu on a form with lines (or objects) extending up to to (or past) both the left and right edges of the page, the lines on the right edge are visible extending all the way to the edge of the page, but do not on the left edge of the page. There has been no non-printing area cropping to the saved PDF or Preview docs.
Select Print, then select “open in preview” in the lower left of the print dialog box or select “Preview” form the FILE menu. There is no cropping occurring in the resulting displayed preview - only object shifting left and down. The lines will extend to the edge of the created preview document on the right and bottom, but not on the left or top. If there were no shifting, lines would extend to page edges on all sides.
This makes me think that page setup options don’t apply a crop prior to the printer producing the page - printers simply print to their max area and anything beyond gets cropped. The page setup options are only used to calculate the “reduce to fit” or any other scaling options that might be applied.
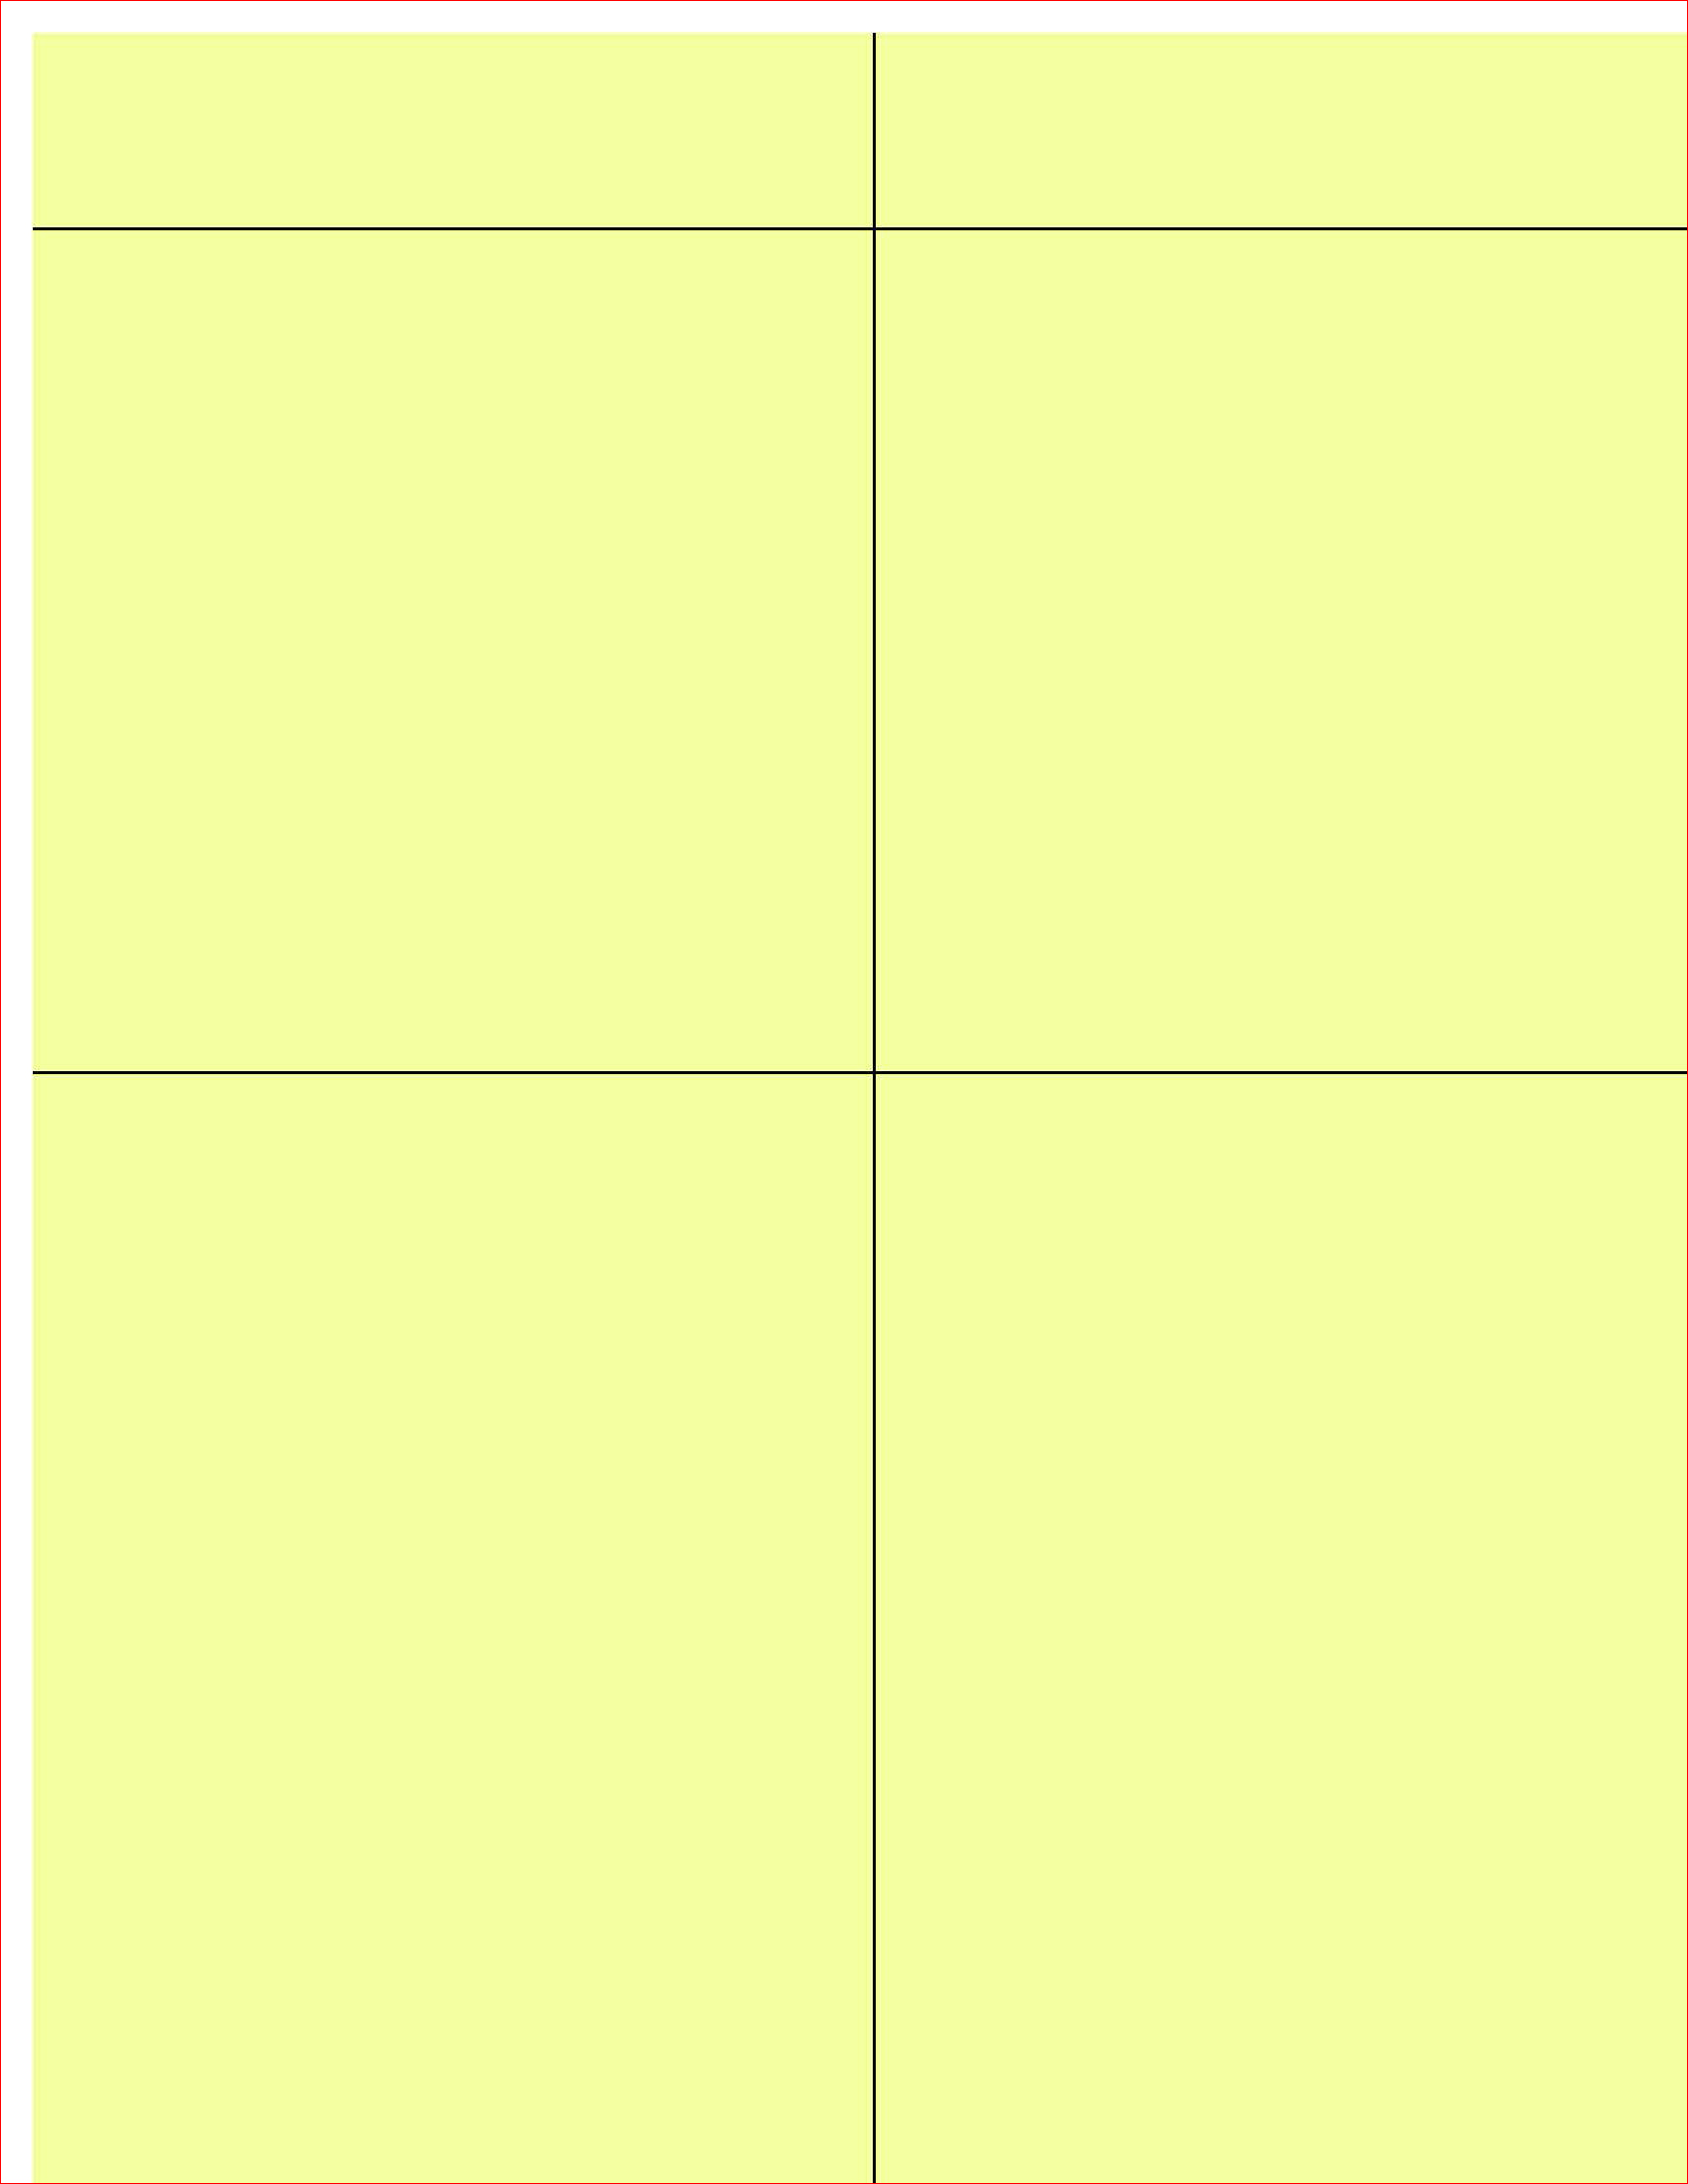
The following graphic shows what I am referring to. The red lines are the page boundary. The yellow fill is the original page area. The white gap shows the shifting issue on the top and left edges of the page.
On the original PX form, the yellow fills the page and the lines extend to all four edges.
I am pretty sure this is an Apple problem, not a Panorama problem. If the pdf comes out properly spaced, but the printer driver spaces it improperly, that would isolate it to a problem with the way CUPS is handling it.
You might try setting Page Setup for All Printers, and seeing what the printable area is, and reduce the size of your tile to be the same size. You might need to add margin tiles. I may try that myself. My situation is a bit different, because I am using a custom page size.
I’ve tried any/all combinations with test pages, etc. The PDF is not coming out properly spaced/positioned (before it gets to the print driver, in my opinion). I’m assuming this because when selecting Preview or “View/Save as PDF” instead of printing, the same offset exists in all scenarios. Plus - if the printer driver is somehow impacting the output, wouldn’t it do the same to all four edges - not just top and left?
I’m agreeing with KJM from above: “it should start on the page at the x/y coordinates 0/0, so we could get a 100% PDF at least.”
Documents produced by Panorama X that might not be intended for printing - say an E-Book, or just a simple PDF electronic archive of a day’s transactions or summaries, shouldn’t contain a 1/4" right/down page offset… I know of no application that forces an offset when exporting - I’ve tried word, excel, powerpoint, keynote, pages, indesign, photoshop, illustrator, filemaker, acrobat, safari, chrome, etc…
Their exported (saved/previewed) PDF files are saved with all content printed as viewed - edge to edge - not offset in any way.
I have just now successfully printed from Panorama X with no offsets – so that an object placed 1" from the top of the data tile and 1" from the left of the data tile does in fact print 1" from the top of the paper, and 1" from the left edge of the paper.
To do this, I went into the Page Setup dialog and created a custom paper size, which I called Edge to Edge. I set the non-printable area to all zeros, as shown here.
I also set up a zero height top margin tile and zero width left margin tile.
I was not able to generate an edge-to-edge PDF file, I think that the custom paper size is perhaps not used when generating a PDF.
It appears that Apple is by default adjusting the 0/0 coordinates to the top/left edge of the printer’s printable area. I think Apple thinks this is a feature, since it automatically prevents printing into the unprintable area. I will look into whether Panorama can undo this adjustment so that it works with PDF files and so this custom paper size technique isn’t necessary.
I’ve done some further research into this, including testing of several other applications:
Pages always prints from the top/left of the paper, and when exporting to PDF
Numbers prints from the top/left of the printable area, and when exporting to PDF
Keynote prints from top/left of the printable area, but uses entire paper when exporting to PDF
Safari and Chrome print from top/left of the printable area
So it can be done – Pages does it. But as far as I can find, there is no documented way to do it. The Pages developers are obviously privvy to the inside scoop, but other teams in Apple haven’t gotten in on the secret sauce.
I’m going to drop this for now, but if I can find someone at Apple that can assist (perhaps at WWDC) then I will revisit this.
Finally, I did succeed in generating a PDF that uses the entire paper area, but it can’t be done with the File>Preview command. Instead, use Page Setup to set up a zero margin custom paper size (as I described in the last message), then choose File>Print and then export to PDF from the Print dialog.
Looking at Apple Developer Documentation, it looks like some manipulation of the printing size and rectangle is how it would be done, but then, I am not a programmer so I cannot say for certain. My nephew may be able to help, and I may see him this weekend.
@BruceDeB – That documentation is for iOS, not macOS. You can always tell because UIKit is iOS, the Mac version is called AppKit. Some parts of iOS and macOS are quite similar, and some are quite different. It looks like printing is one of the areas that is significantly different between the platforms. In any case, I don’t see how to print from 0,0 on iOS from that documentation. Sure, “some manipulation of the printing size and rectangle,” but there are no clues as to how such manipulation should be done, or even if it is possible.
On the Mac, the [NSPrintInfo imageablePageBounds method can be used to determine what the printable area is. But there is no corresponding setImageablePageBounds method to override this, at least there is not a documented public API. (Notice that this url includes appkit in the link, so it is for macOS.)
When I use Page Setup to create a custom paper size with zero margins, the imageablePageBounds method returns the entire dimensions of the page, from edge-to-edge. But if I directly print to PDF, the custom paper size is ignored and imageablePageBounds returns the actual unprintable border for the currently selected printer.
I realize this post is way too technical for this forum. The tldr is that I haven’t just thrown up my hands and said “oh well”, I’ve invested quite a bit of time and energy on this.